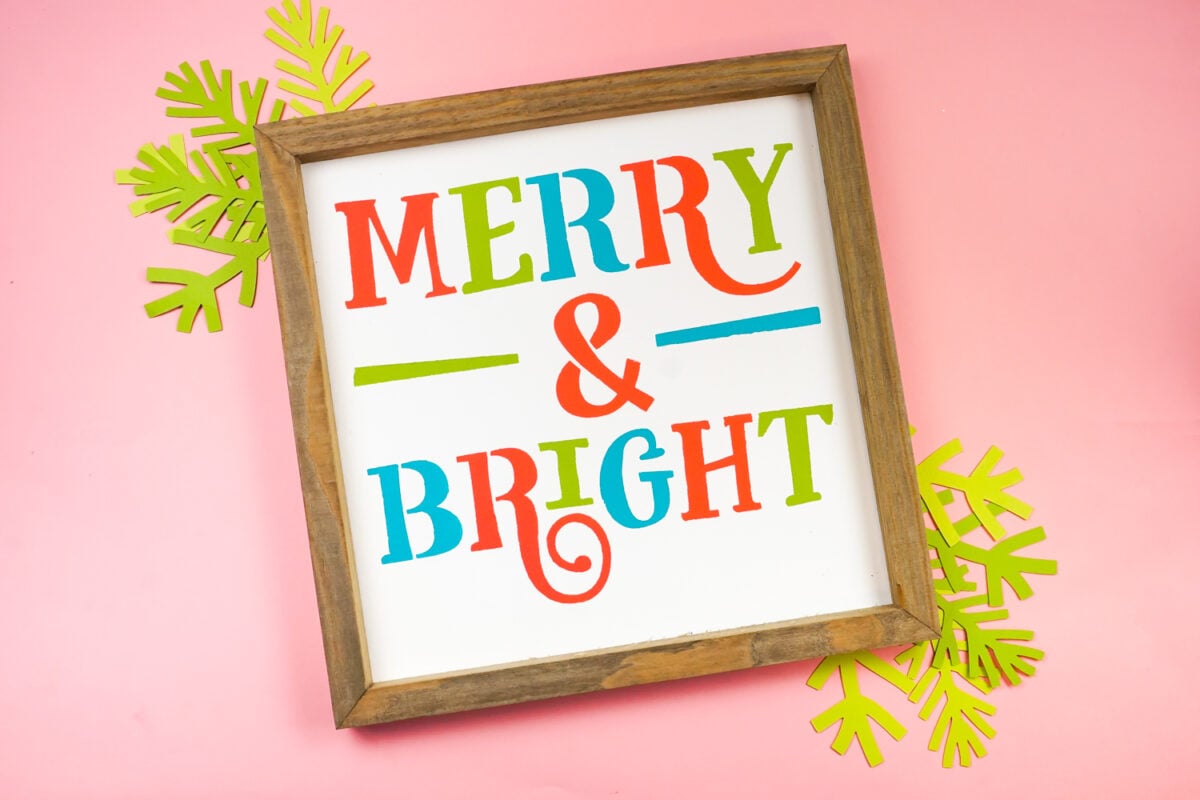
Creating stencils with a Cricut machine is an easy and enjoyable process. If you enjoy designing your own stencils at home, this guide is perfect for you. This blog will show you ‘how to make a stencil with Cricut‘. You don’t need a specific Cricut machine; the process works the same across all models. After reading this guide, you’ll feel confident making your own stencils without needing to buy them.
This blog covers everything you need to know about making stencils, from basic to detailed, including a list of essentials needed for making stencils, learning about different types of stencil materials, such as one-time stencils and reusable stencils, and offering a strong recommendation for the best stencil material.
What Is the Best Stencil Material?
First, let’s take a look at different types of stencil material before coming to the conclusion about which is best:
- Reusable Stencils: Mylar sheets, laminating sheets, acetate sheets, Krylon Easy-Tack, Stencil Ease, and clear plastic poster board.
- One-Time Use Stencils: Contact paper and vinyl stencils (permanent and removable vinyl).
Stencils can be used on a wide range of materials, including fabric, walls, floors, furniture, wood, metal, paper, and even some types of glass. The best material for stenciling depends on the specific project and desired outcome. But apart from that, stencils work best on a smooth surface.
While using reusable stencils, pay attention to the edges of the design and bridges between cut pieces. Large or intricate stencils with small bridges may be difficult to reuse effectively, and careful removal and placement are crucial to avoid damage or distortion.
However, when it comes to using one-time stencils, users have suggested that they have a large amount of stickiness compared to reusable stencils, as it has adhesive all over them (except for cardstock).
What Supplies Are Needed to Create a Stencil?
Before you start, here are some essentials you’ll need to create a stencil.
- Cricut Design Space Software on a computer or a mobile device
- StandardGrip or LightGrip mat
- Weeder and transfer tape
- Fine-point blade
- Compatible stencil film
- Scraper tool
- Paint
- Sponge
- Compatible with Cricut cutting machines, such as Cricut Joy, Explore Air 2, and Cricut Maker series.
How to Make a Stencil With Cricut: Simple Steps
We will provide you with hands-on instructions to make you understand everything in the best possible way. So let’s get started!
Step 1: Create a new project in Cricut Design Space.
Step 2: Click the Upload option on the left and upload your design image.
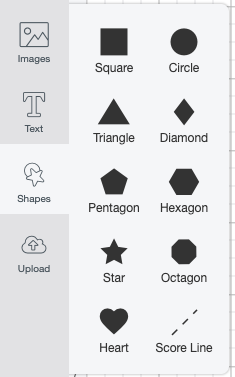
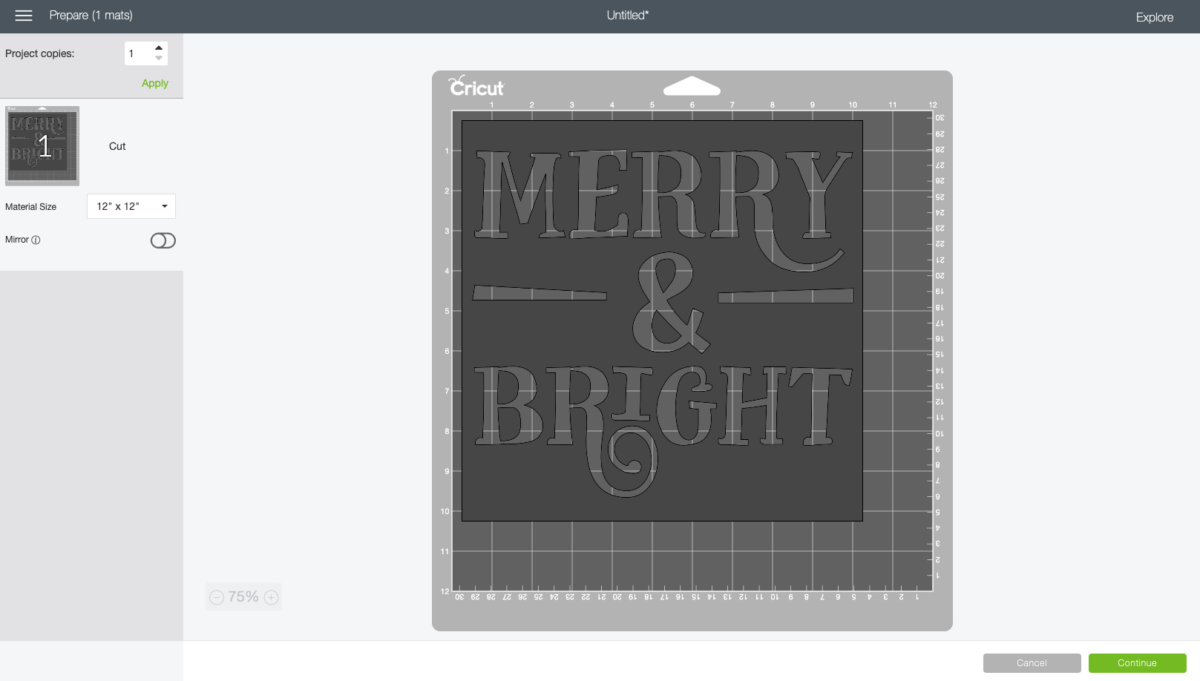
Step 3: Return to the Shapes menu on the left and select the square.
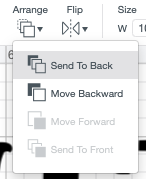
Step 4: Position the square within your design according to your preference to cover all the parts. Click on the square; you will see a “Send to Back” option in the Edit toolbar using the Arrange menu.
Step 5: Align your square and the image using the alignment tool to ensure that everything is centered properly.
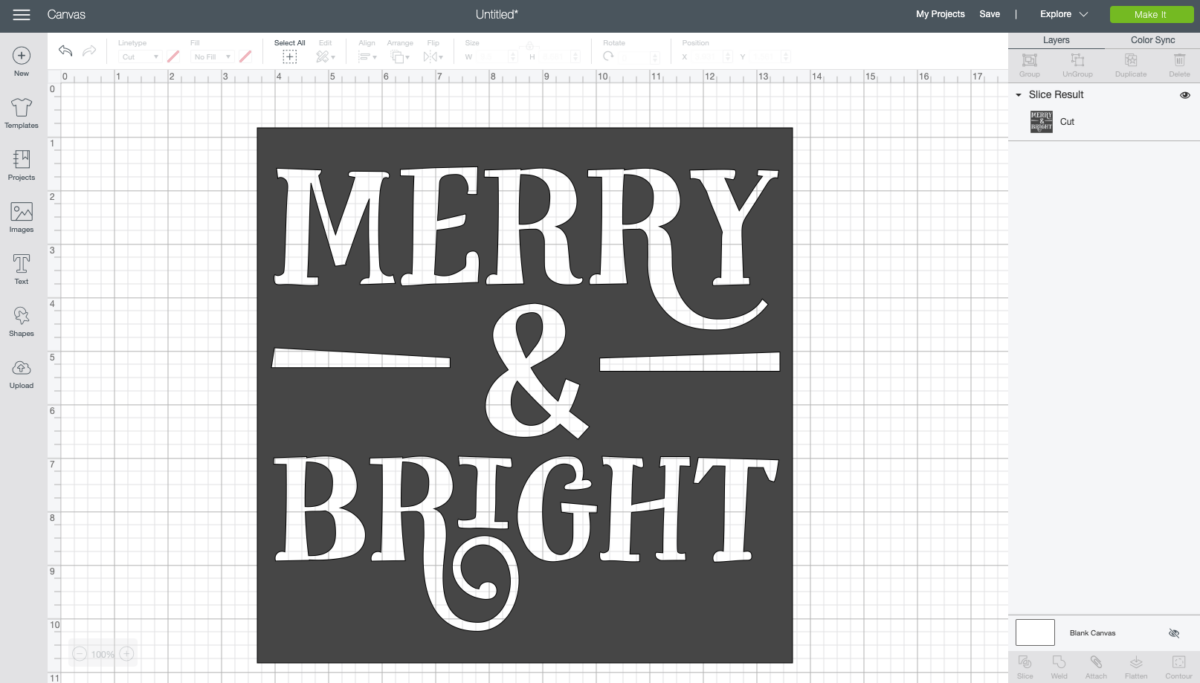
Step 6: Now, select both your image and the square, and then press the Slice button at the bottom right.
Step 7: You will have three slice results – a black piece, a grey piece, and your stencil. Delete the black and grey pieces, keeping the stencil for your project.
Step 8: Your design is now ready to cut. Click the Make It button on the top right and tap Continue.
Step 9: Next, select the appropriate material for your stencil, which is typically Stencil film.
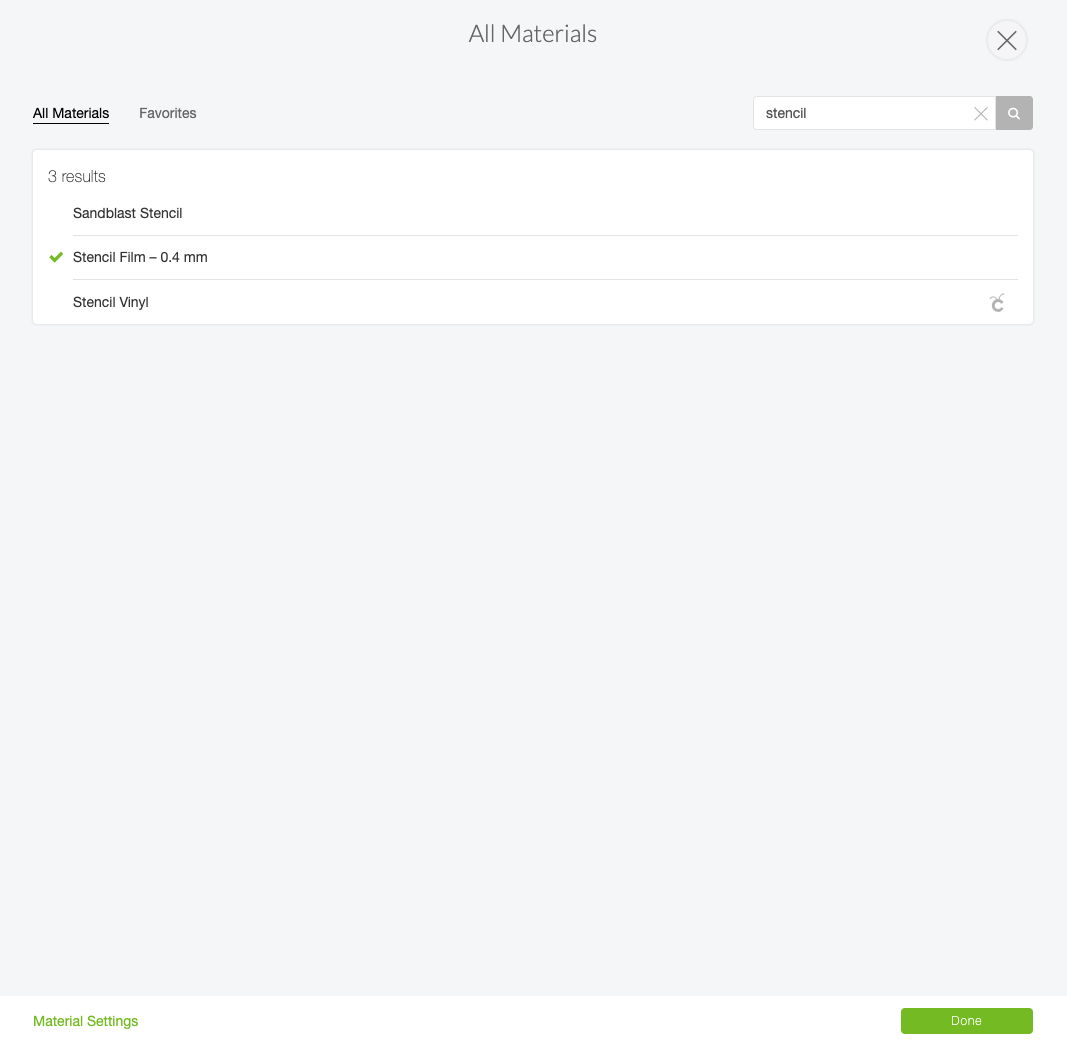
Step 10: Select the Stencil Film setting and adjust pressure and multi-cut settings based on your machine’s guidelines.

Step 11: Ensure the material is loaded on the mat with the liner side down. Then, insert the fine-point blade into your machine.
Step 12: Slide the mat with the stencil film under the mat guides and against the Cricut Machine Rollers.
Step 13: Press the Load button, followed by the “Go” button, to initiate cutting.
Note: Before removing the mat after cutting, ensure the machine has cut through completely. If not, then cut again because you can’t do this once you remove the mat from your machine.
Step 14: Position your stencil where you want it to be and begin taping it down for optimal results.
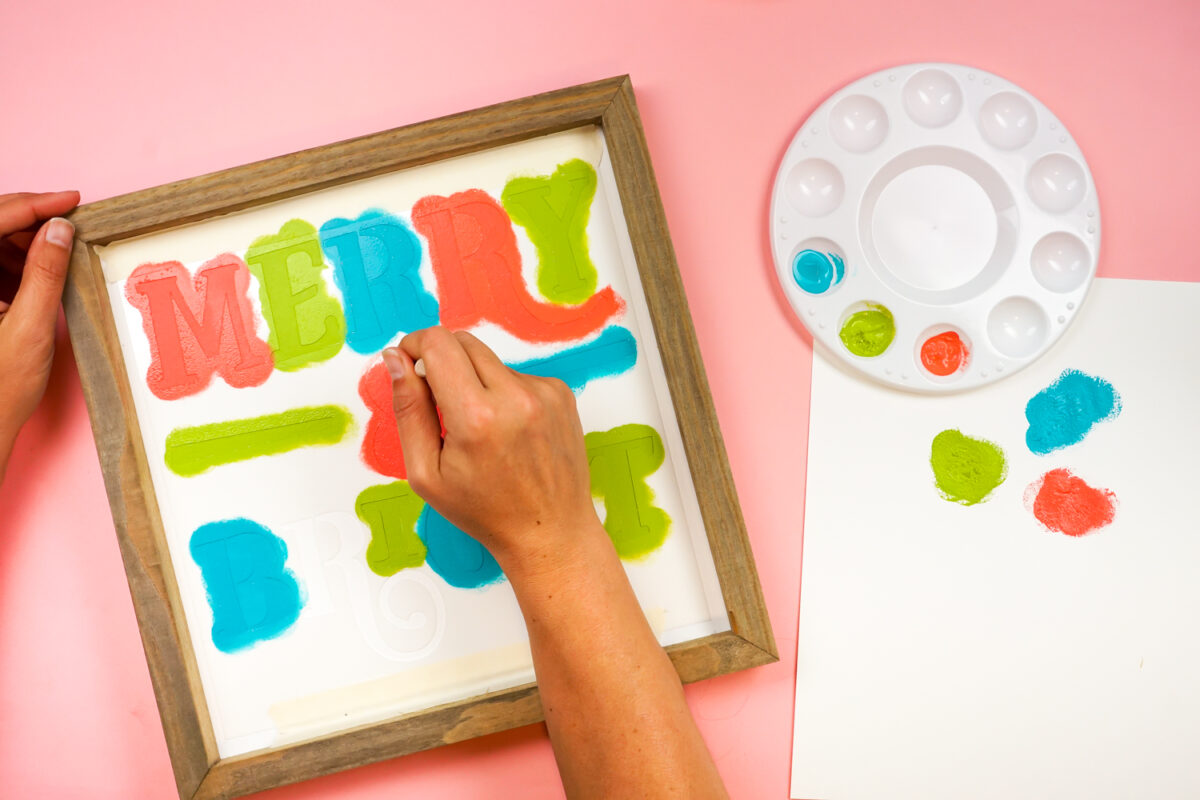
Step 15: Here comes the fun part: Painting! Gather your essentials, such as paint, a sponge, and scratch paper, and design it as you want. Apply a sponge brush to the stencil in a dabbing or swirling motion.
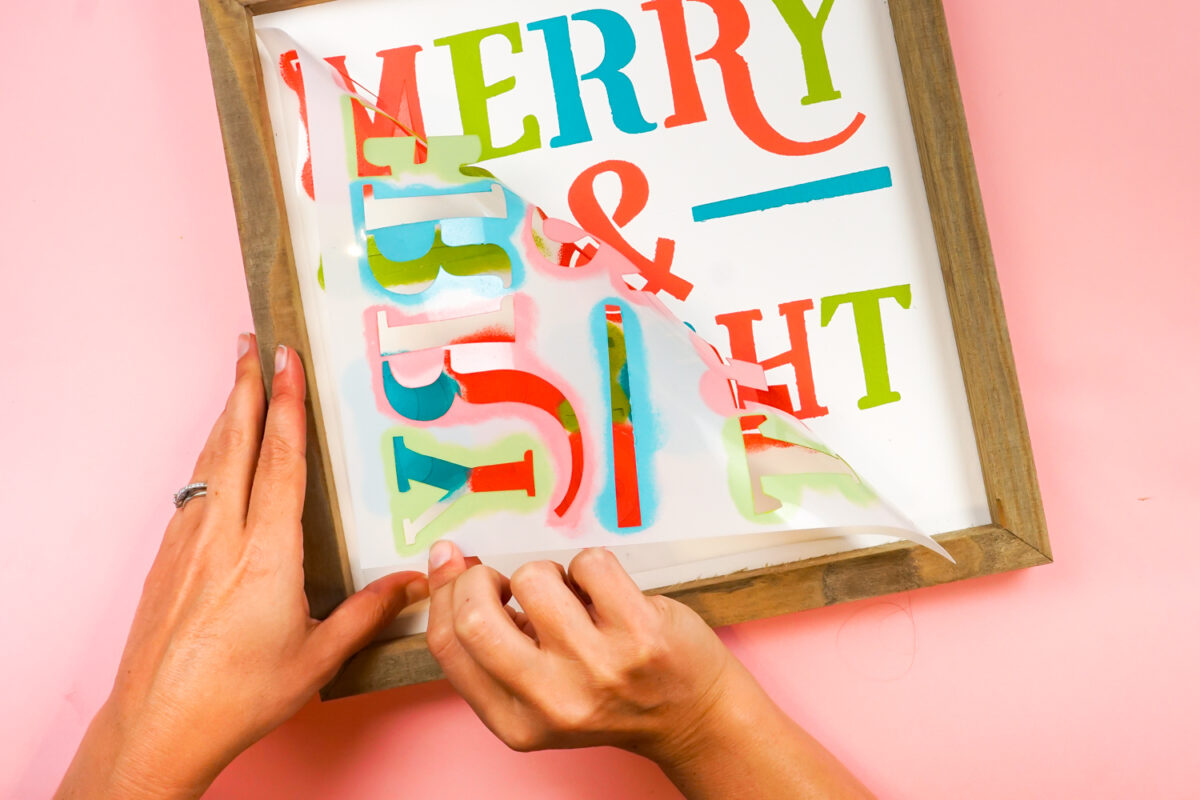
Step 16: Don’t peel off the tape until the paint dries.
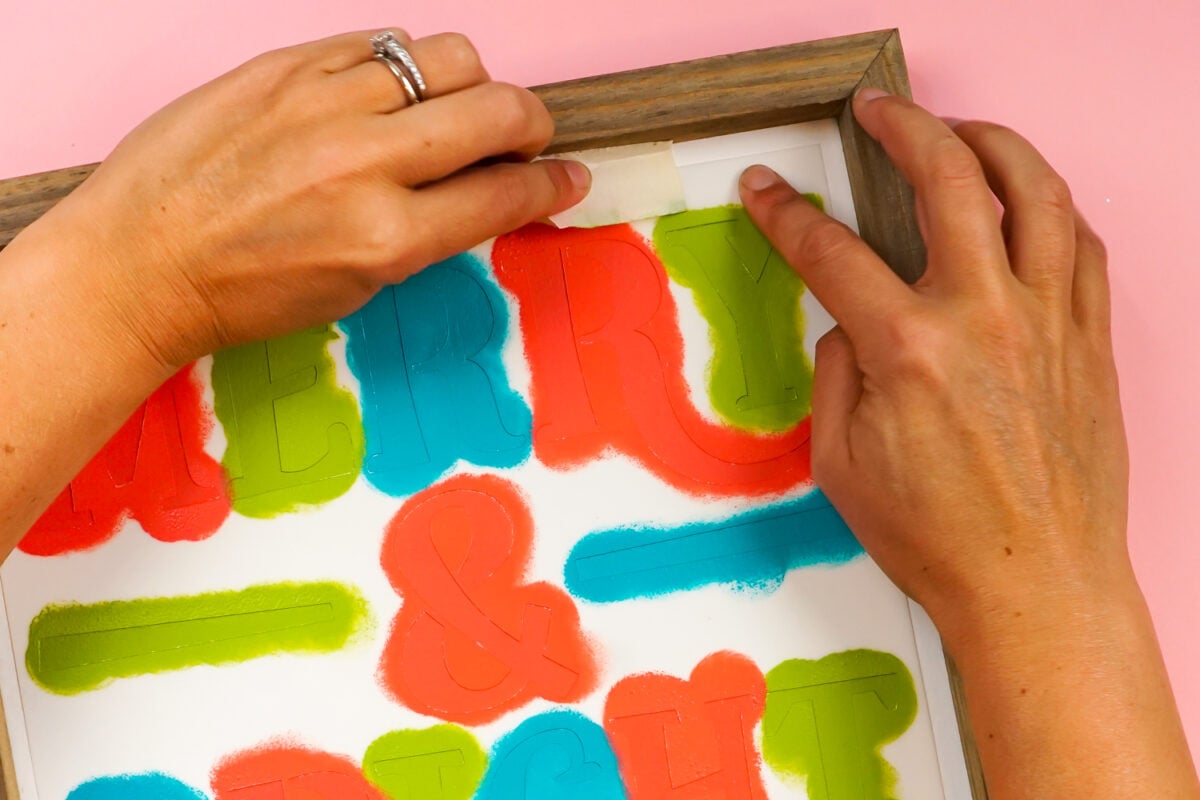
Step 17: Gently peel off the stencils.
Congratulations! You have successfully learned how to make a stencil with Cricut.