If you own a Cricut machine and have never used iron-on material before, then I must say you are missing out on a lot of fun. It’s a material that can easily transfer the cutting design to different surfaces using a heat process. With this method, you can create custom t-shirts, decorate bags, shoes, and many more items that you haven’t explored yet. It’s exciting! Continue reading this guide to learn how to do Cricut iron on with a few easy steps. So, without further delay, let’s dive into this!
What You Need to Start Your Iron-On Projects
Here are the tools and supplies you will need to begin your iron-on project with a Cricut machine:
- A Cricut machine
- Iron-on material
- Cricut Heat Transfer Guide or Cricut Heat app
- EasyPress mat
- EasyPress machine
- Weeding tool
Now that you know the essential materials, it’s time to start the project procedure and create stunning designs with your crafting machine.
How to Do Cricut Iron On: 6 Easy-To-Follow Steps
Below are simple steps to create iron-on projects using your crafting machine. Without further delay, let’s begin crafting amazing designs!
Step 1: Start by Creating a Design
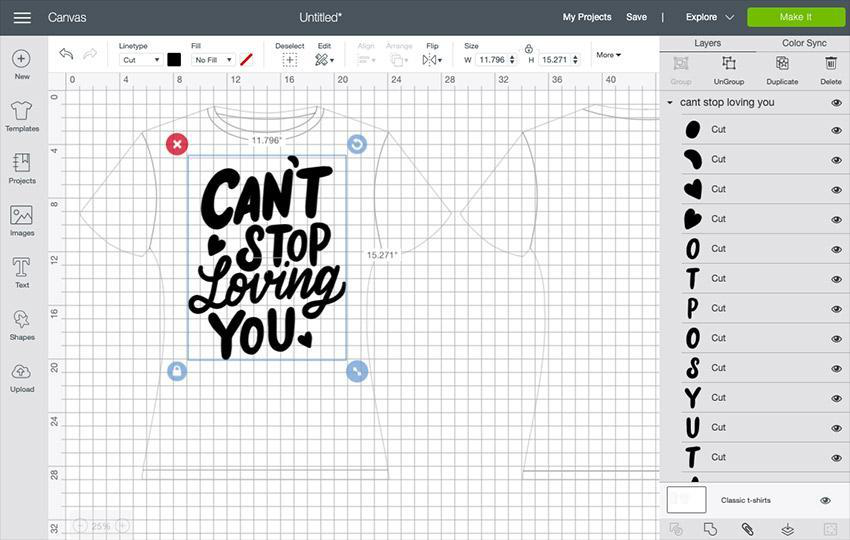
First, open the Cricut Design Space Software on your computer and create a new canvas. At this point, you have two choices: either create a new cutting design for yourself or use a design from the Cricut library. (The advantage of using Cricut library designs is their seamless compatibility with mirror mode, which you will need in the later steps.)
Step 2: Mirroring Your Design
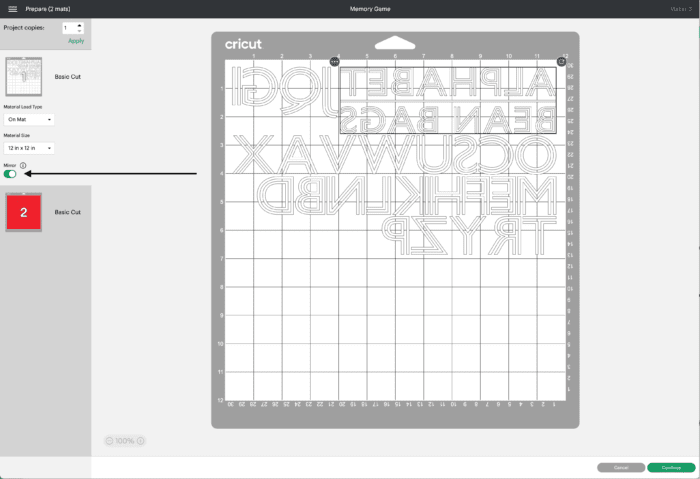
Once you finalize your design and prepare the cutting mat, the next step is to cut the material and make it ready for application. For this, you had to mirror the design. Select “Mirror” from the left-hand side of the window. After that, click on edit and turn on the mirror mode. Once you are done, you are ready to proceed to the next step.
Step 3: Put Material on Your Mat
Now, before you move on to cutting your iron-on material, you need to put it on the Cricut cutting mat for the cutting process.
Some iron-on materials are the same color on both sides, while others have white on the back. This can make it harder to determine which side to cut, but the shiny side should always face down with the adhesive side facing up.
Step 4: Cut Your Material With Cricut

You have your mirror design ready, and the iron-on material is put on the cutting mat. At this point, the only thing left is to cut the material and make it apply-ready.
Note: Use a fine-pointed blade for the task.
For the Explore Series, set your dial to “Iron-On” or “Custom” and choose your material type in the Cricut Design Space software.
For the Maker Series, you will need to select the type of iron-on material you are using and start following the instructions.
Step 5: Weed Out the Design
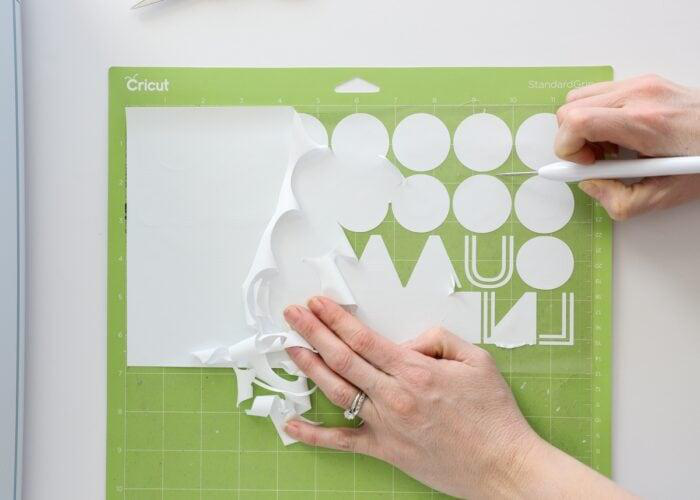
Once your iron-on design is cut, it will be time to prepare it for application to your project. Get your weeding tool and start removing the extra unwanted material from your design. The key to doing this right is always to pick smaller pieces.
Step 6: Use EasyPress on Material
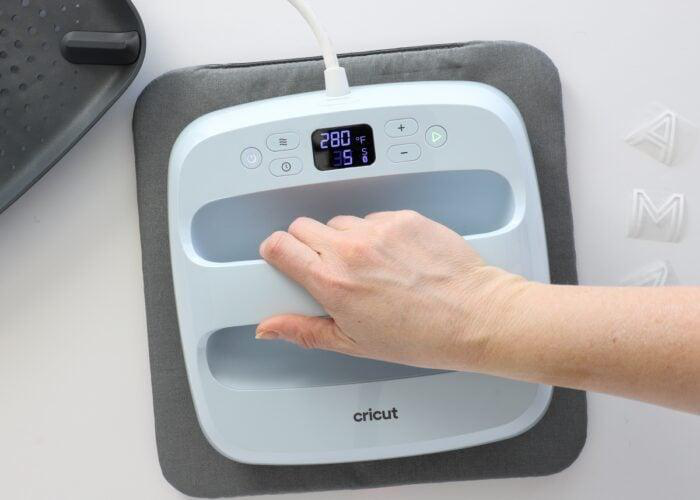
Use the Cricut Heat Guide or the app to check what time and temperature will be right for your iron-on material. Once you figure out the time and temperature set on your EasyPress, start applying.
Put your iron-on design on the material that you want to customize (make sure the design is placed directly against the surface of your project). Next, put the EasyPress on for the set time and temperature. Lastly, take off the EasyPress and peel the transparent film from the material. And there you have it: a perfectly customized iron-on material.
Tips and Tricks for Using Cricut EasyPress
Here are helpful tips and tricks for effectively using your EasyPress machine to create stunning iron-on projects with ease.
- Place a folded towel on your material (e.g., t-shirt) or EasyPress mat while pressing.
- Preheat your targeted material to remove all the wrinkles and moisture from the fabric before pressing.
- Correctly place your iron-on design before pressing.
- Follow the Cricut Heat Guide instructions carefully, along with the time, temperature, and applied pressure.
Conclusion
Cricut iron-on materials are well-known for their versatility. You can use iron-on material on almost any item you want, making it a customized piece of art. If it is done perfectly, it surely helps you to enhance the look and feel of your items. Follow ‘how to do Cricut iron on guide steps‘ to easily learn and apply the iron-on design on anything you like. However, while performing these steps, if you ever find yourself in a difficult situation, then you are free to reach out to us. We are experts dedicated to enhancing the crafting experience for every Cricut machine user.
Frequently Asked Questions (FAQs)
How Should I Register My Cricut Maker?
To register your new Cricut Maker Machine, you should follow the steps described below:
- First, go to the official site to download the Cricut Design Space Software.
- After that, follow the instructions shown on your screen to install it.
- After completing the installation, you will see the login page.
- Just create your account and complete the Cricut Maker setup.